After you're done flashing LEDs in totally unique and wonderful ways, you'll want to actually interact with the physical environment. Here's where linear actuators come in. If you want to move something, open something, pivot something, a linear actuator is most likely the best way to do it. And why do the lifting, moving, pivoting yourself when you can get a linear actuator to do the hard work.
Sure you can push a button on a remote control or a rocker switch, but why not have a motion sensor or even a real time clock for time based events.
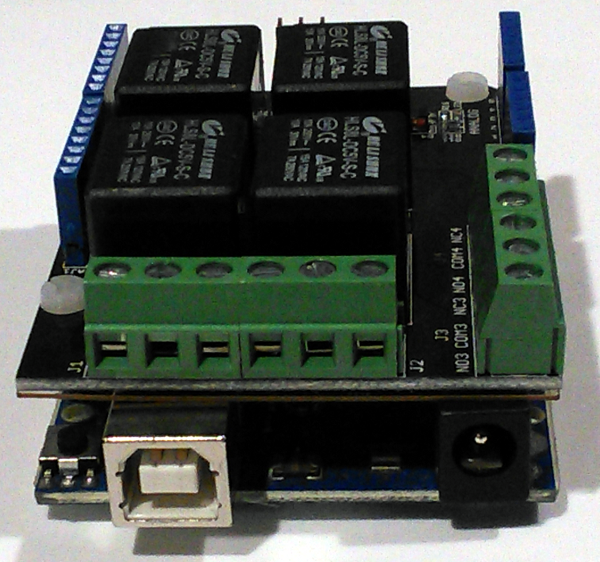
If you're just getting into Arduino, you may not be aware that you can't just connect a big motor to the pins of the board and start moving it. You have to use some switching mechanism to carry the high current load. You can use a motor driver or H-bridge, but the simplest, fastest way is to use a couple relays or a relay board. You have two options when using an Arduino with a linear actuator. You can just use the relay board to control the power going to the actuator with no position information, or if you use one of the FA-PO feedback actuators you can determine the shaft position and create a closed loop position control. In this article we're going to focus on the simpler option, just using the relays to control the actuator and no position information.
Make sure you use relays (or a relay board) with SPDT relays. SPDT (single pole double throw) relays have three connections for each relay. Common, normally open, normally closed. We'll go into more detail about relays in another article, just make sure you get SPDT relays otherwise it won't work. You need two SPDT relays to control the actuator. With two SPDT relays you can start, stop and change direction of the actuator.
As you can see in the wiring diagram below, you connect your 12VDC ground to the normally closed terminal of the two relays, and you connect your +12VDC to the normally open terminal of the two relays. You can either make a junction to split each wire in two, or use a short jumper wire. You connect the two actuator wires to the common terminal, one to each relay.

For the Arduino code, let's assume digital pins 2 and 3 are to control the two relays. You'll have to check what it is on your board. Here's a simple code snippet showing how you can extend, retract, and stop the linear actuator.
const int RELAY_1_A = 2; const int RELAY_1_B = 3; void setup() { pinMode(RELAY_1_A, OUTPUT);int actuator) {pinMode(RELAY_1_B, OUTPUT);} void loop() { //This is where your program logic goes //You can call the functions to control the //actuator here, as well as reading sensors, etc.. } void extendActuator(int actuator) { //Set one relay one and the other off //this will move extend the actuator digitalWrite(RELAY_1_A, HIGH); digitalWrite(RELAY_1_B, LOW); } void retractActuator(
//Set one relay off and the other on
//this will move retract the actuator
digitalWrite(RELAY_1_A, LOW);
digitalWrite(RELAY_1_B, HIGH);
}
void stopActuator(int actuator) {
//Set both relays off
//this will stop the actuator in a braking
digitalWrite(RELAY_1_A, LOW);
digitalWrite(RELAY_1_B, LOW); }
This should get you going on using an Arduino (or other microcontroller) with relays to control a Firgelli Automations linear actuator.
If you're looking for what linear actuator to start with, give us a call or send us an email on our technical line. If you're looking for a solid workhorse actuator, check out the light duty series linear actuators we carry, or the light duty units with potentiometer feedback. Don't forget a good 12VDC power supplythat can handle inductive loads. MB1 brackets for linear actuators (MB1 for the FA-150 series) will save you lots of time and frustration.


