
Fuses and current sensors do not do the same job. A fuse protects wire from fault current. A current sensor helps the controller notice overload, jam, or changing load. If you use one as a substitute for the other, you can leave the system unsafe.
What does a fuse actually protect?
A fuse protects the wiring and power source from fault current. If a wire shorts to ground, the fuse opens before the wire overheats.
Put the fuse close to the battery or power supply. A fuse near the actuator leaves most of the wire run unprotected.
When do you need current sensing?
Use current sensing when the mechanism can jam, crush, hit an obstruction, or change load through travel. The sensor gives the controller a way to react before the fuse blows.
The fuse still stays in the circuit. Different job.
Relevant FIRGELLI products
Which products are worth looking at?
Only use product pages when the hardware actually matches the job. The explanation above should still make sense without buying anything.

Programmable Overcurrent Protection
Use this when the actuator system needs an adjustable overcurrent cutoff point.
View Overcurrent Protection
12V 30A Power Supply
Use this when a wall-powered 12V actuator system needs high current capacity.
View 12V 30A Supply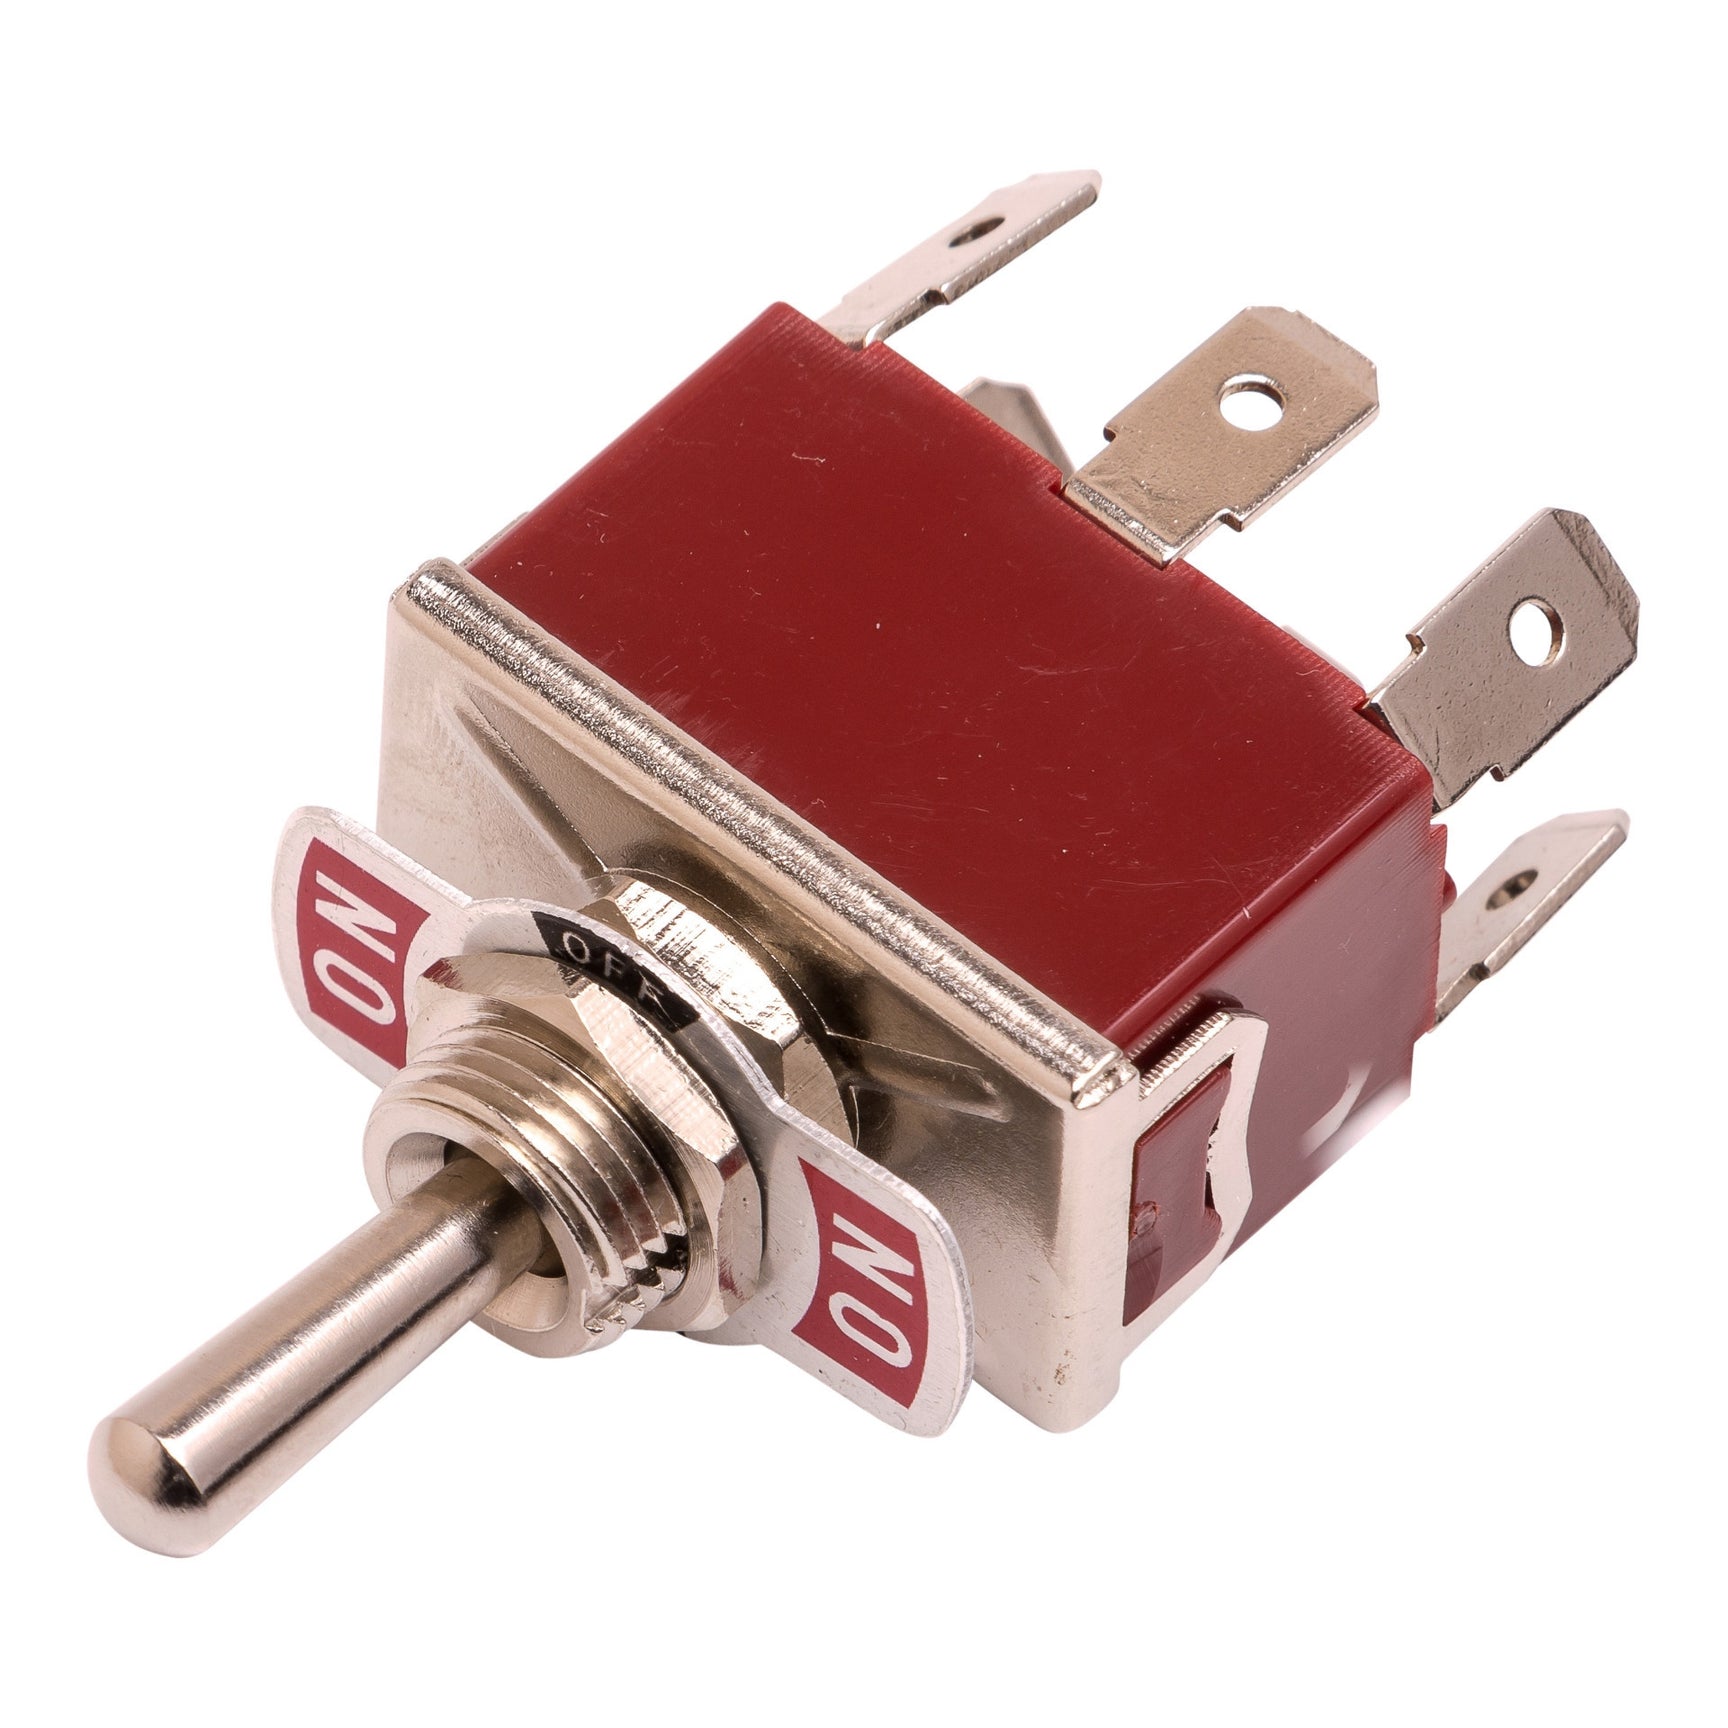
DPDT Toggle Switch
Use this for simple manual actuator direction control where current ratings fit.
View Toggle SwitchWhat components actually matter?
Fuses and current sensors solve different problems. A fuse protects wiring from fault current. A current sensor helps the controller understand load. You often need both because a fuse reacts too late and too bluntly to act like a smart force limit.
Where would you use this?
Use fuses in every serious actuator circuit, especially vehicles, boats, RVs, battery systems, and outdoor machinery. Use current sensing when you need overload detection, jam detection, soft limits, force estimation, or a safer stop before the mechanism crushes something.
How would you use it in a real build?
Put the fuse near the battery or supply. That protects the wire run if insulation rubs through. Put current sensing where the controller can measure actuator current during motion. When current jumps above a threshold for a defined time, the controller stops or reverses the actuator.
What is a realistic example?
A 12V actuator normally runs at 6A and briefly starts at 12A. A jam pushes current to 22A. You might use a 20A fuse to protect the wiring, but set a controller current limit at 18A for 300 ms. The controller reacts to a jam. The fuse remains the last line of defense.
What usually goes wrong?
Do not use a fuse as a precision force sensor. Fuse curves vary, and a fuse may take time to open. Do not set a current limit too close to normal running current, either. Cold grease, worn pivots, and startup load can create false trips.
What should you measure before choosing parts?
Measure normal running current, startup current, stall current, wire length, wire gauge, and the current rating of every switch, relay, driver, and connector. Do this with the real mechanism attached. A no-load current number tells you very little about a stuck hatch or frozen slide.
How should you test it before trusting it?
Test the circuit with the actuator stalled briefly, loaded normally, and starting from rest. Measure current with the real wiring length. Voltage drop matters. A supply that reads 12V on the bench can sag badly once 2 actuators start together.
Cycle the system until the driver, relay, switch, and wires reach normal operating temperature. Warm parts tell the truth faster than a wiring diagram.
What changes when this becomes a real product?
Production wiring needs strain relief, fused supply, known connector ratings, repeatable crimp quality, and documentation. If feedback is involved, the signal wires need routing away from noisy motor wiring where practical. If the system goes into a vehicle, boat, or RV, vibration becomes part of the electrical design.
What rule of thumb should you remember?
Size the electrical path around current, not just voltage. Voltage tells you compatibility. Current tells you what fails.
Which applications are a good fit?
Good applications include battery-powered hatch lifts, RV storage trays, marine engine covers, industrial guarding, and any actuator system where a jam can crush hardware or overheat wiring. The common thread is controlled motion. The load should move through a known path, with brackets, guides, hinges, or structure carrying the side loads.
What details should go on the design checklist?
Before choosing hardware, write down normal running current, startup current, stall current, fuse rating, wire gauge, wire length, controller current limit, and where the user can reset the system. These numbers and conditions stop the project from turning into guesswork. They also make support conversations much faster because the important facts are already on the table.
For a prototype, you can adjust brackets and reroute wires after the first test. For a finished installation, make those decisions early. Leave access to fasteners. Leave access to wiring. Leave enough room to replace the actuator without taking the whole project apart.
What is the practical takeaway?
A fuse belongs near the power source. A current sensor belongs where the controller can make a decision. Put both in the design when the mechanism has enough stored energy to hurt itself.
What final check should you do before ordering?
Write the project down as 5 numbers before you buy anything: load, stroke, speed, voltage, and available mounting space. Then add the real-world conditions: water, vibration, dust, heat, access, duty cycle, and what happens if the mechanism jams. This 10-minute check catches most actuator mistakes before money gets spent.
After that, check the control path. The switch, relay, controller, fuse, wire, and power supply all need to match the actuator current. A strong actuator with weak wiring is still a weak system.


